Podcasts can be a great source of data for generating interesting text via GPT-2. This post will describe the steps I took to fine-tune the GPT-2 XL (1558M) model on one of my favorite podcasts, the Accidental Tech Podcast (ATP). See the results here.
Preparing the transcripts
Beyond being a fan of the show, I picked ATP because of its large back catalog. The show has over 350 episodes, and most last around 1.5-2.5 hours. You need a large corpus of source text to fine-tune the 1558M, XL version of GPT-2. The entire ATP catalog is around 43 MB of transcribed text. For another data point, AI Dungeon was fine-tuned on 50 MB of text.
Now, transcripts. Your podcast of choice may provide them already. If so, congrats! They were likely transcribed by a human and thus will have the best possible quality. You can skip this next part.
ATP doesn't provide transcripts, so I needed to produce them myself. First things first, I downloaded the entire catalog of MP3s. This may not be possible for all podcasts! Most RSS feeds only contain the latest hundred episodes. Thankfully, the show has a consistent format to their download links, and I was able to easily build URLs for the episodes that had dropped off the RSS feed (which was over two-thirds of the catalog).
I used Otter.ai, an automated transcription service, to create the transcripts. I quickly burnt through the free 600 minutes and bought a month of their Premium offering ($10), which gives you an additional 6000 minutes. Somehow it was enough to transcribe the entire catalog. (Yep, you're doing the math right. That's only 110 hours of credit and I had over 350 episodes averaging over an hour each.)
The Otter.ai transcripts aren't perfect but are certainly good enough value for the cost. Unfortunately, these imperfections will show up in the final product.
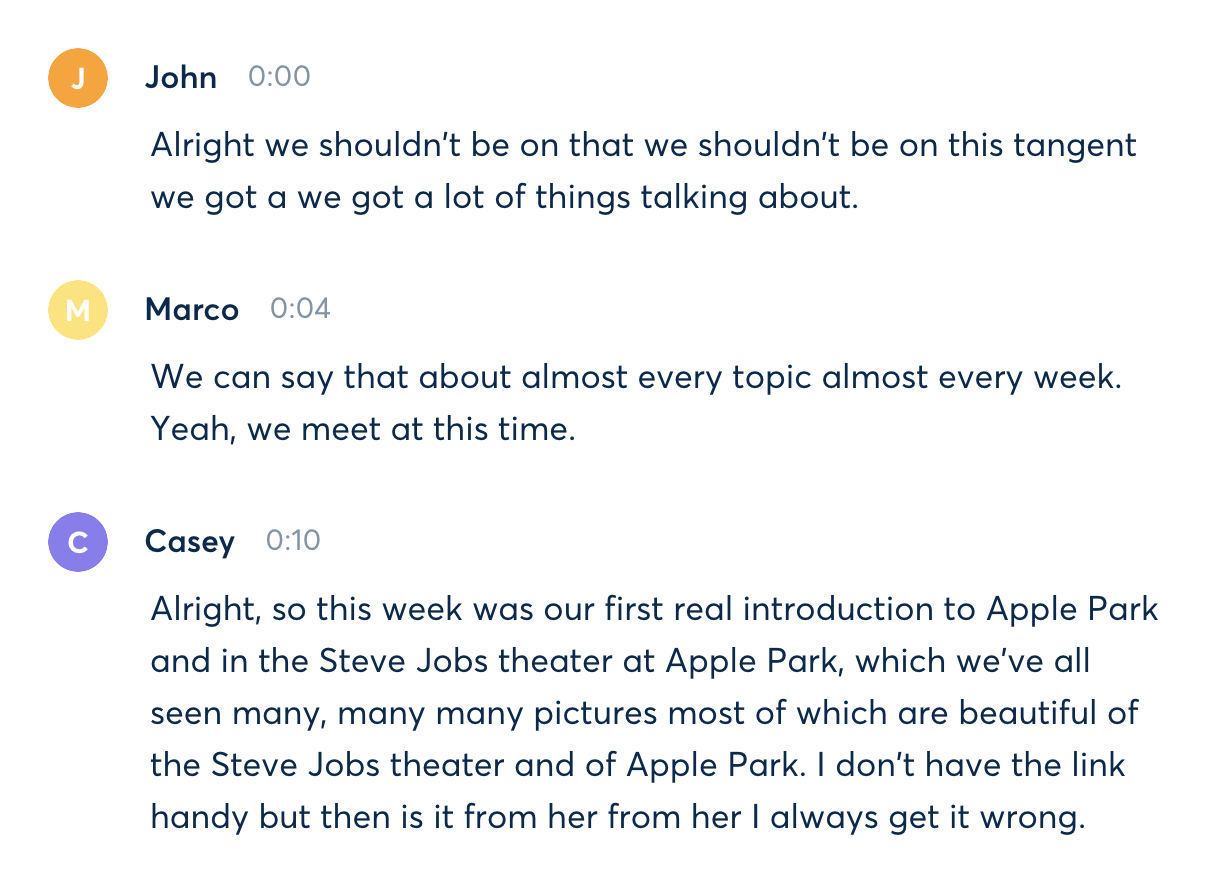
One thing that becomes obvious when you start reading transcripts is how much people stutter, use words like "uh", repeat themselves, etc. While this all sounds perfectly natural when you hear it, on paper the direct transcripts can be a hassle to read. I imagine that a human transcriber would apply some light editing, but an automated one does no such thing. Yes, these speech patterns will show up in the generated text.
A critical feature of Otter.ai is the ability to tag speakers. Once I tagged the three ATP hosts in one episode transcript, Otter.ai was able to automatically do the same for the rest.
I did have to go to each transcript and tell it to refresh the speaker data since I did the speaker tagging after I had already transcribed the whole catalog. If you transcribe the first episode and tag the speakers, when you transcribe the remaining catalog Otter.ai should do the tagging for you automatically.
Since I had over 350 transcripts to manage, I wrote a bookmarklet to make refreshing a bit more efficient. (Use this Bookmarklet Creator to format it correctly.)
document.querySelector('button.head-bar__menu-button').click();
document.querySelectorAll('span.head-bar__menu-item-label')[3].click();
Next you'll want to export the transcripts to your computer. Here are the settings you'll need:

Configure these once, and they'll persist for each transcript. Again, I created a bookmarklet to make the tedious export process a bit quicker. Otter.ai doesn't support bulk export.
document.querySelector('button.head-bar__menu-button').click();
document.querySelectorAll('span.head-bar__menu-item-label')[1].click();
document.querySelector('.__continue').click()
You need a single file for fine-tuning, so we need to concatenate the transcript files. Here's a PowerShell 6 command I used to do the job. Make sure the output file has an encoding of UTF-8 w/o BOM.
Get-Content otter\*.txt | Out-File .\atp_all.txt -Encoding UTF8NoBOM
Now it's time for the actual fine-tuning.
Fine-tuning
We will fine-tune the GPT-2 1558M model to produce text that looks like our ATP transcripts.
You can fine-tune the model for free using Google Colab or with the $300 credit offered to new accounts on Google Cloud. The key is that you need to train on a TPU, which is the only free (or on credit) offering that can fit the 1558M model into memory for fine-tuning.
My process is an adaptation of previous efforts to train 1558M on TPUs by Shawn Presser and Svilen Todorov.
This method will work on both environments. I used Google Cloud for a few reasons:
On Google Cloud, I provisioned a VM, Storage bucket, and a preemptible TPUv3-8. They should all live in the same project and very importantly, must live in the same region, or you will rack up huge data transfer fees between the VM and TPU.
Only a few regions have TPUs available. I used us-central1-b.
My VM configuration was the following:
I used gsutil to upload my transcript file to the storage bucket before downloading it to the VM.
I used Shawn's shawwn/gpt-2 repo, specifically the tpu branch, to perform the fine-tuning.
From the VM command-line, here are the steps I took:
1. Clone shawwn/gpt-2 and checkout the tpu branch:
git clone https://github.com/shawwn/gpt-2 -b tpu
2. Install Python dependencies:
cd gpt-2
pip3 install -r requirements.txt --user
pip3 install pytz --user
3. Download the vanilla GPT-2 1558M model:
python3 download_model.py 1558M
4. Encode the transcript for quicker loading onto the TPU:
PYTHONPATH=src encode.py transcript.txt transcript.txt.npz --model_name 1558M
5. Set environment variable with your TPU's name:
export TPU_NAME="tpu1"
6. Start fine-tuning:
PYTHONPATH=src python3 train.py \
--init_tpu \
--model_name 1558M \
--dataset transcript.txt.npz \
--restore_from 'fresh' \
--run_name 'run1' \
--learning_rate 0.00001 \
--save_time 60 \
--sample_every 20 \
--sample_num 1 \
--sample_length 192 \
--save_on_ctrlc \
--max_to_keep 1 \
--only_train_transformer_layers \
--batch_size 8
The train.py file has documentation for the various arguments. You will need some familiarity with machine learning to really understand what many of the arguments do.
How long to train for? I ended up training around 2000 steps, and the samples produced were good enough for my purposes. I would like to train for longer and try tuning the hyperparameters in different ways. Unfortunately, fine-tuning such a large model is quite expensive!
Here are some further notes I took during the fine-tuning process that may be helpful:
Sample generation
Ok, you've done the work of fine-tuning the GPT-2 model. Now it's time for the payoff.
Generating samples is less memory-intensive than fine-tuning. I've found the most convenient and cheap approach is generating samples in Google Colab with a GPU.
First, upload your model from the VM into your storage bucket. I upload the entire repo directory. While the simplest way to get your model into Google Colab is to download it from the bucket during your session, you should be aware of Google Cloud Storage egress costs. The model alone will be around ~6GB. If you upload the whole repo directory it will be several additional GB.
Since I have been sampling frequently across many different Colab sessions, I downloaded my model to my local machine and reuploaded it to my Google Drive. In Colab, I simply attach my Google Drive and copy the whole thing to the VM (which will have better performance than accessing directly from Google Drive during sample generation).
This can be completely free since your model will fit within the free 15GB limit that Google Drive provides. You may have to trim the fat from your repo, though. I am paying $2 for a Google One account with 100 GB of Drive storage since I have several models I want to keep around.
Here's an example Colab notebook for how I generate samples.
Now, all that's left is to browse the samples and look for good ones. The interactive_conditional_samples.py file has some documentation on the various arguments you can adjust.
Enjoy!
Comments or questions? Reach me on Twitter or send me an email.